Leave Your Message

How to Choose an Acrylic LED Sign Board for Your Business

A storefront sign has a small job with a big effect: help people notice your business, understand what you offer, and find the entrance. An Acrylic Led Sign Board can bring clean lettering, color, and light to a reception wall or street-facing window. Yet a bright sign is not automatically a good one. Size, viewing distance, ambient light, and the feel of your brand all matter. A board that looks crisp in a product photo may feel crowded above a narrow doorway. Details count.

This guide explains how to choose a sign with practical questions in mind. Consider where it will be installed, what message must remain readable, and whether the lighting suits the space. Compare acrylic thickness, edge finish, LED color, mounting style, and access for maintenance. Ask suppliers for clear specifications, installation guidance, and examples of similar projects. Check how the sign appears in daylight and after dark, not only on a screen. Small mockups can reveal awkward spacing before production begins. Test it first.

There is no single specification that fits every business. A warm, softly lit logo may suit a café, while a clinic may need simple lettering with strong contrast. Local conditions, budgets, and interior finishes can change the right choice. Some trade-offs are easy to miss. This overview offers a grounded starting point, while your site measurements and a qualified sign professional should guide the final decision.
How to Choose an Acrylic LED Sign Board for Your Business

Define Your Sign’s Purpose, Audience, and Installation Location

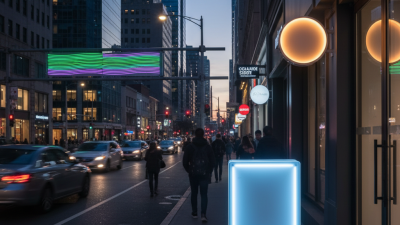
Before choosing an acrylic LED sign board, decide what it must do: attract passersby, guide visitors, or display changing offers. A Harris Interactive survey of U.S. adults in 2012 found that 76% had entered a store they had never visited because of its signs. That figure highlights the value of visibility, but it does not guarantee sales. Your audience matters. A hurried driver needs large, simple wording; a pedestrian near a shop entrance can read more detail.

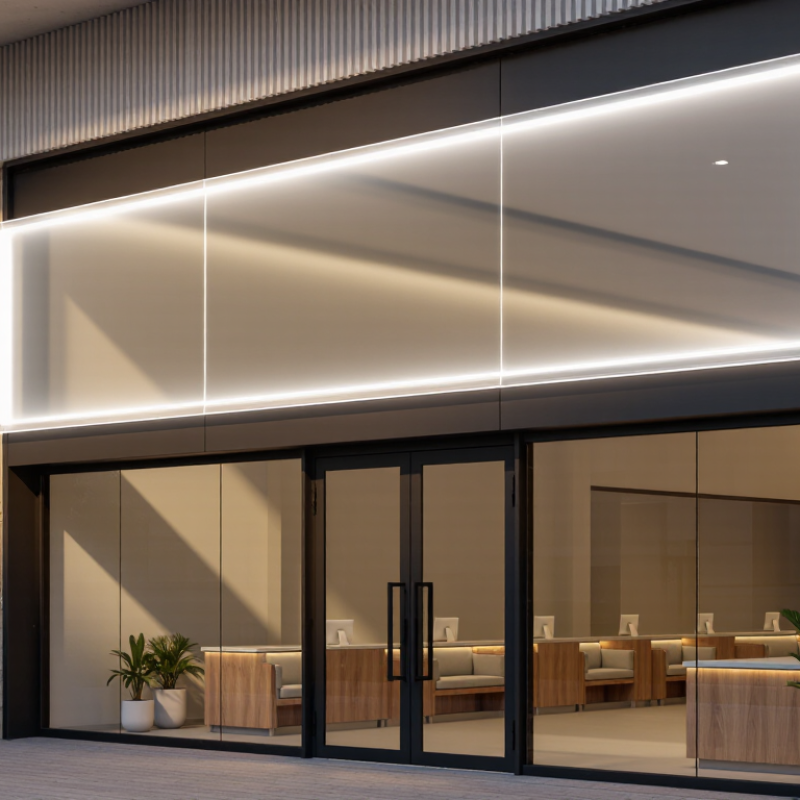
Study the installation location at different times of day. Note viewing distance, sunlight, nearby lights, mounting height, and power access. A board behind reflective glass may look washed out at noon. One mounted above a narrow doorway could be hard to read from the pavement. Measure the space, then check sightlines from where people actually approach. Small detail. It changes everything.

Match brightness and message length to the setting. A quiet reception area may need soft illumination and clear directions, while a busy storefront may call for bold contrast and a short offer. Ask who will update the content and how often. An elaborate display can become awkward if staff cannot change it easily. Test a sample layout at the intended distance before ordering; the first draft may still be too crowded.
Compare Acrylic Types, LED Configurations, and Build Quality

How to Choose an Acrylic LED Sign Board for Your Business

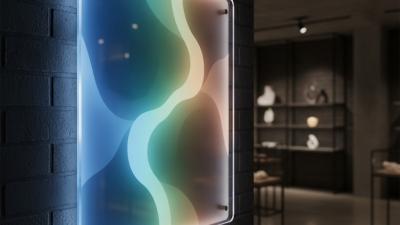
Compare acrylic types before choosing a sign. Clear acrylic gives light a crisp, glass-like appearance, while frosted acrylic softens glare and spreads illumination more evenly. Opal acrylic can help hide individual LED points, especially in shallow signs. Check the panel thickness and edges in person if possible. A polished edge should feel smooth, not sharp or wavy. Small detail. It matters.

LED placement affects brightness and readability. Edge-lit designs can look clean and slim, but may show uneven light across large panels. Backlit LEDs usually provide more consistent coverage, though they need extra depth. Ask how far apart the LEDs sit and whether the sign has a diffuser. Build quality matters, too: inspect seams, mounting points, wiring protection, and heat management. A bright sign is not automatically a durable one. Buyers sometimes focus on the front and forget the rear; that’s an easy oversight.

Tips: View the sign in lighting similar to your storefront, both during the day and after dark. Read small lettering from the distance customers will stand. Ask for a sample or close-up photos of the edges and internal layout. If the glow looks slightly uneven, don’t dismiss it; your eye may keep noticing it.

Choose the Board Size, Colors, and Lighting Style

Acrylic LED sign size should match the distance people view it from, not just the empty wall. Measure the available space, then check whether the main wording remains readable from the sidewalk or across the room. Small lettering can disappear under bright lighting. Measure twice.

Color choices affect readability as much as appearance. Strong contrast, such as dark lettering on a pale face, is often easier to scan than several similar shades. Match the sign to nearby walls and interior lighting, but avoid copying every color in the room. A quick printed mock-up can reveal awkward combinations before fabrication. It is not a perfect preview, though; illuminated colors may look different at night.

Choose lighting based on the setting. Front-lit letters create a direct, even glow, while edge lighting can give a slimmer, softer look. Ask how the LEDs are diffused and where shadows may fall around letters or mounting hardware. Test it at dusk. Reflections from windows can make a bright sign harder to read, and excessive brightness may feel harsh in a small reception area. A dimming option can help, but it adds a detail to consider during installation.

Check Power, Mounting, and Local Signage Requirements

Before choosing an acrylic LED sign board, check its rated wattage, voltage, and power-supply capacity. Add the wattage of every illuminated section, then confirm the driver can support the total load. Leave room for ventilation; a tightly enclosed driver may overheat. The U.S. Department of Energy reports that LEDs use at least 75% less energy and last up to 25 times longer than incandescent lighting. That comparison is useful, but it does not guarantee low running costs for every sign. Ask for the sign’s actual power rating.

Mounting needs depend on the wall, sign size, and exposure to wind or rain. A small indoor panel may suit concealed standoffs, while an outdoor sign may need sealed fixings and weather-rated electrical components. Check the substrate before drilling. Brick, glass, and lightweight cladding need different fixing methods. I have seen neat-looking installations become difficult to service because the power supply was hidden behind a fixed panel. Plan access, too.

Local signage requirements can affect size, placement, brightness, operating hours, and permits. Rules may differ between a building owner, municipality, and local electrical authority, so check each before ordering. Ask for written approval where required. Keep the sign drawing, electrical specifications, and mounting details together for review. A quick verbal confirmation is easy to misremember.

How to Choose an Acrylic LED Sign Board for Your Business - Check Power, Mounting, and Local Signage Requirements
Decision Factor What to Check Practical Example or Guidance Before You Buy
Sign size and viewing distance Measure the available space and consider how far away customers will read the sign. A sign intended to be read from across a parking area generally needs larger lettering than one viewed at a reception desk. Mock up the sign at its intended size and check visibility from typical customer approach points.
Power supply and load Confirm the LED system’s input voltage, total wattage, and compatible driver or power supply. For example, a 24 V system drawing 2 A uses 48 W (24 V × 2 A). Use the manufacturer’s stated load when selecting a power supply. Check whether the sign is designed for the available mains supply and have fixed electrical work assessed by a qualified professional.
Indoor or outdoor use Check the product’s stated environment rating and protection for exposed electrical parts. IP ratings are defined under IEC 60529. An IP65-rated enclosure is dust-tight and protected against water jets; this does not by itself establish suitability for every outdoor condition. Ask about rain exposure, temperature range, condensation, and the protection rating of the complete installed assembly.
Mounting method Choose a mounting style that suits the wall, window, fascia, or freestanding location. Common approaches include wall-mounted standoffs, a flush-mounted panel, or a suspended sign. The appropriate fixings depend on the substrate and sign weight. Confirm fixing locations, cable access, clearance, and whether the mounting surface can safely support the sign.
Visibility and brightness Consider viewing distance, ambient light, glare, and any brightness-control options. A sign in a sunlit window may need a different brightness level from an indoor reception sign. Dimming can help manage glare where supported by the sign and driver. Request product brightness information and, if possible, review a sample under the lighting conditions where it will be installed.
Local signage rules Check local rules for sign area, placement, illumination, operating hours, and permits. Requirements vary by location and may depend on zoning, building type, sign position, and whether the sign is illuminated. Contact the local planning or building authority before ordering, and check lease or property-owner approval requirements.
Electrical and product approvals Check applicable electrical safety requirements and accepted product certifications for the installation location. Certification and inspection requirements differ by country, region, and installation type; a mark or certificate should be verified for the intended market and use. Ask the supplier for relevant documentation and confirm requirements with the local authority or a qualified electrician.
Maintenance and access Consider how the sign will be cleaned and how the LED components or driver can be reached for service. A removable access panel or accessible power supply can make inspection and repair easier than a permanently sealed installation. Clarify warranty coverage, replacement-part availability, and safe access for maintenance.

Evaluate Durability, Maintenance, and Total Cost

When comparing acrylic LED sign boards, inspect the full assembly, not just the illuminated face. Ask about acrylic thickness, edge sealing, mounting hardware, and whether the LED driver can be replaced separately. For outdoor signs, sun exposure, rain, and temperature swings can cloud panels or stress joints. Small details matter. A serviceable driver may prevent replacing an entire board after a minor electrical failure.

The U.S. Department of Energy’s LED Basics guidance gives a typical LED product life of 25,000–50,000 hours. At 12 hours of daily operation, that equals roughly 5.7–11.4 years of LED use, not a promise for the whole sign. Drivers, wiring, heat, and installation can shorten actual service life. I would not treat that figure as a warranty. For total cost, compare the purchase price with expected electricity use, cleaning time, access equipment, and likely repairs. A sign mounted above a busy entrance may cost more to service than one at ground level. Get replacement-part pricing in writing, and ask how the estimate changes if the sign runs longer each day. The spreadsheet may still miss an awkward repair.

How to Choose an Acrylic LED Sign Board for Your Business

Compare estimated 10-year electricity costs at different daily operating hours. This example assumes a 100 W sign and electricity at $0.16 per kWh; costs are calculated from energy use and exclude purchase, maintenance, and repair costs.

Durability and maintenance: Check that the acrylic thickness and mounting suit the sign’s location, especially outdoors. Keep the panel clean with a soft cloth and a cleaner approved for acrylic, and inspect seals, fixings, and electrical connections periodically. For a complete cost comparison, add the sign’s purchase price and expected maintenance or repair costs to its electricity cost. Actual power draw and electricity rates vary.